

Forging a jewelry mold sounds intense. The name alone makes it feel like you need a medieval workshop and a very serious beard. The truth is much nicer. You can make a jewelry mold at home with basic tools, a bit of patience, and a willingness to make mistakes that you will later call “learning moments.”
This guide walks you through the process step by step. No complicated words. No mystery steps. Just real instructions, practical tips, and a calm approach that won’t make you want to throw metal across the room.
What Is a Jewelry Mold?
A jewelry mold is a shaped cavity used to cast molten metal into rings, pendants, charms, or small decorative pieces. Once the metal cools, it takes the exact shape of the mold.
You can create molds from several materials. Beginners usually start with sand, silicone, or graphite because they are forgiving and affordable.
Tools and Materials You’ll Need
Before starting, gather everything first. This saves time and prevents mid-project frustration.
Basic Tools
-
Jewelry design or master piece
-
Mold material (casting sand, silicone rubber, or graphite)
-
Mold frame or container
-
Carving tools or small metal tools
-
Heat source (torch or furnace)
-
Protective gloves and safety glasses
Optional but Helpful
-
Fine brush
-
Release agent or light oil
-
Small hammer
-
Tweezers
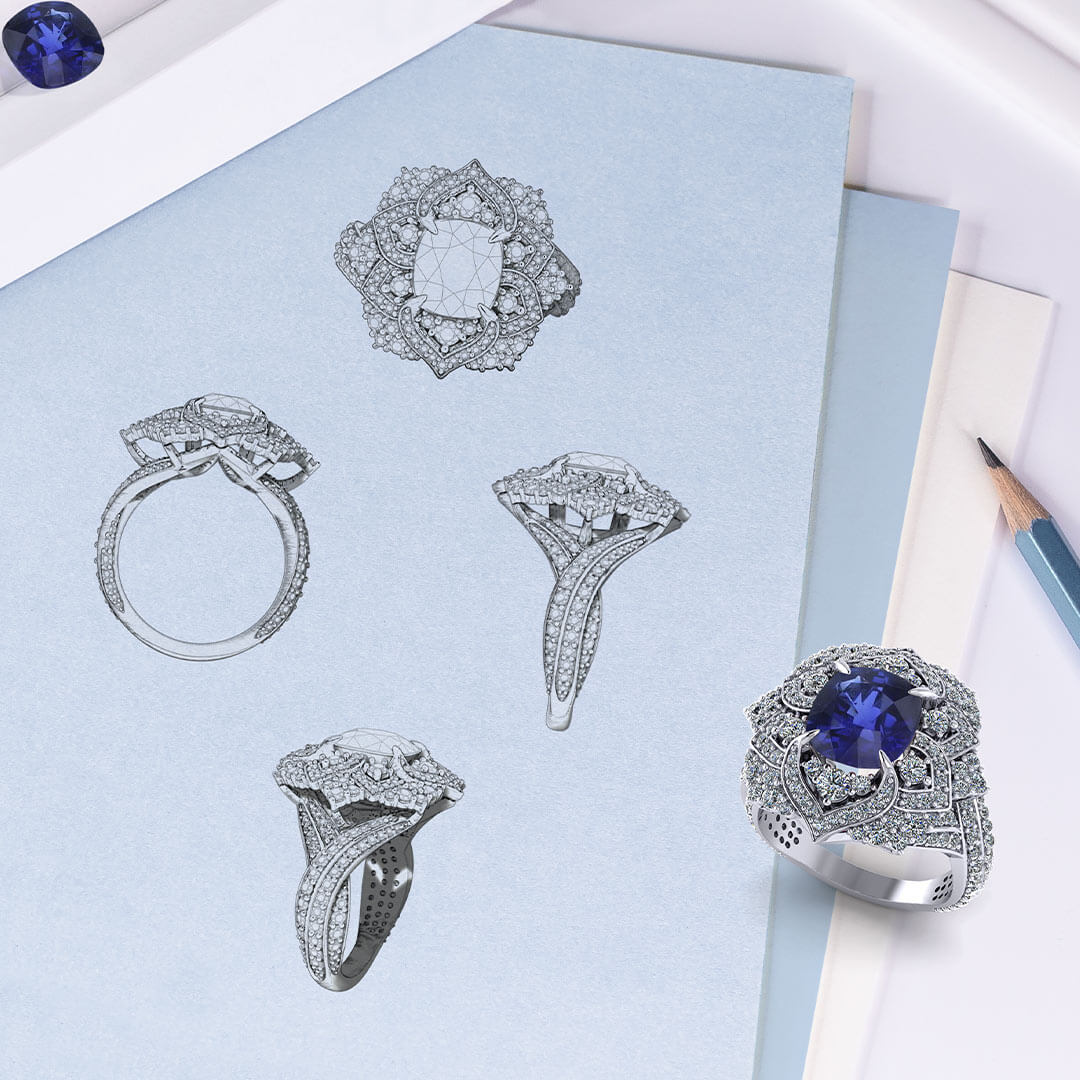
Step 1: Choose Your Jewelry Design
Start with a simple design. A flat pendant or basic ring works best for beginners. Highly detailed designs look amazing but are harder to mold cleanly.
If you are using a handmade model, make sure it has smooth edges. Sharp corners often cause mold damage or casting defects.
Tip: If it looks complicated now, it will look very complicated later when molten metal is involved.
Step 2: Prepare the Mold Material
Your mold material must be clean and properly prepared.
-
Sand molds: Slightly damp but not wet
-
Silicone molds: Mixed according to instructions
-
Graphite molds: Smooth and dust-free
Pack or pour the material into your mold frame evenly. Air bubbles are not your friend here.
Step 3: Press the Jewelry Design into the Mold
Gently press the jewelry model into the mold material. Do not rush. Press evenly and remove it slowly.
This step creates the cavity where molten metal will later flow.
If the design sticks, use a release agent or light oil next time. Pulling too hard can ruin the mold, and yes, it happens to everyone at least once.

Step 4: Carve Channels for Metal Flow
Molten metal needs a path. Without channels, it just sits there, judging you silently.
Carve:
-
One main pouring channel
-
One or two air vents
These allow metal to flow smoothly and air to escape.
Keep channels clean and slightly sloped.

Step 5: Harden or Set the Mold
Each mold type sets differently.
-
Sand molds: Compress firmly
-
Silicone molds: Let cure fully (patience required)
-
Graphite molds: Ready once carved
Do not rush this step. An under-set mold cracks easily, and cracked molds ruin castings.
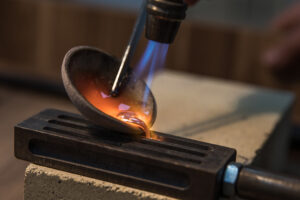
Step 6: Heat and Pour the Metal
This is the exciting part. It is also the part where safety matters most.
-
Wear gloves and eye protection
-
Melt metal slowly
-
Pour steadily into the main channel
Do not overfill. Metal expands when hot and spills are not fun souvenirs.

Step 7: Let the Mold Cool
Resist the urge to check early. Cooling takes time.
Once fully cooled:
-
Open the mold carefully
-
Remove the cast jewelry piece
-
Admire your work, even if it is slightly imperfect
Imperfections are part of the process and often lead to better results next time.
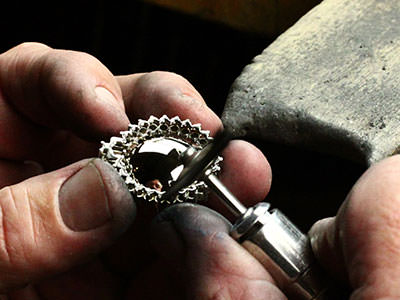
Step 8: Clean and Finish the Jewelry
Your piece will not look perfect straight out of the mold. That is normal.
Finish by:
-
Filing rough edges
-
Sanding the surface
-
Polishing for shine
This step turns “metal blob” into “actual jewelry.”
Common Mistakes to Avoid
-
Skipping air vents
-
Pouring metal too fast
-
Using overly complex designs at first
-
Forgetting safety gear
-
Rushing the cooling process
Every mistake teaches you something. Just try to avoid the painful ones.
Final Thoughts
Learning how to forge a jewelry mold step by step is part craft, part patience, and part trial and error. The first mold may not be perfect. The second will be better. By the ifth, you will feel confident enough to experiment.


